


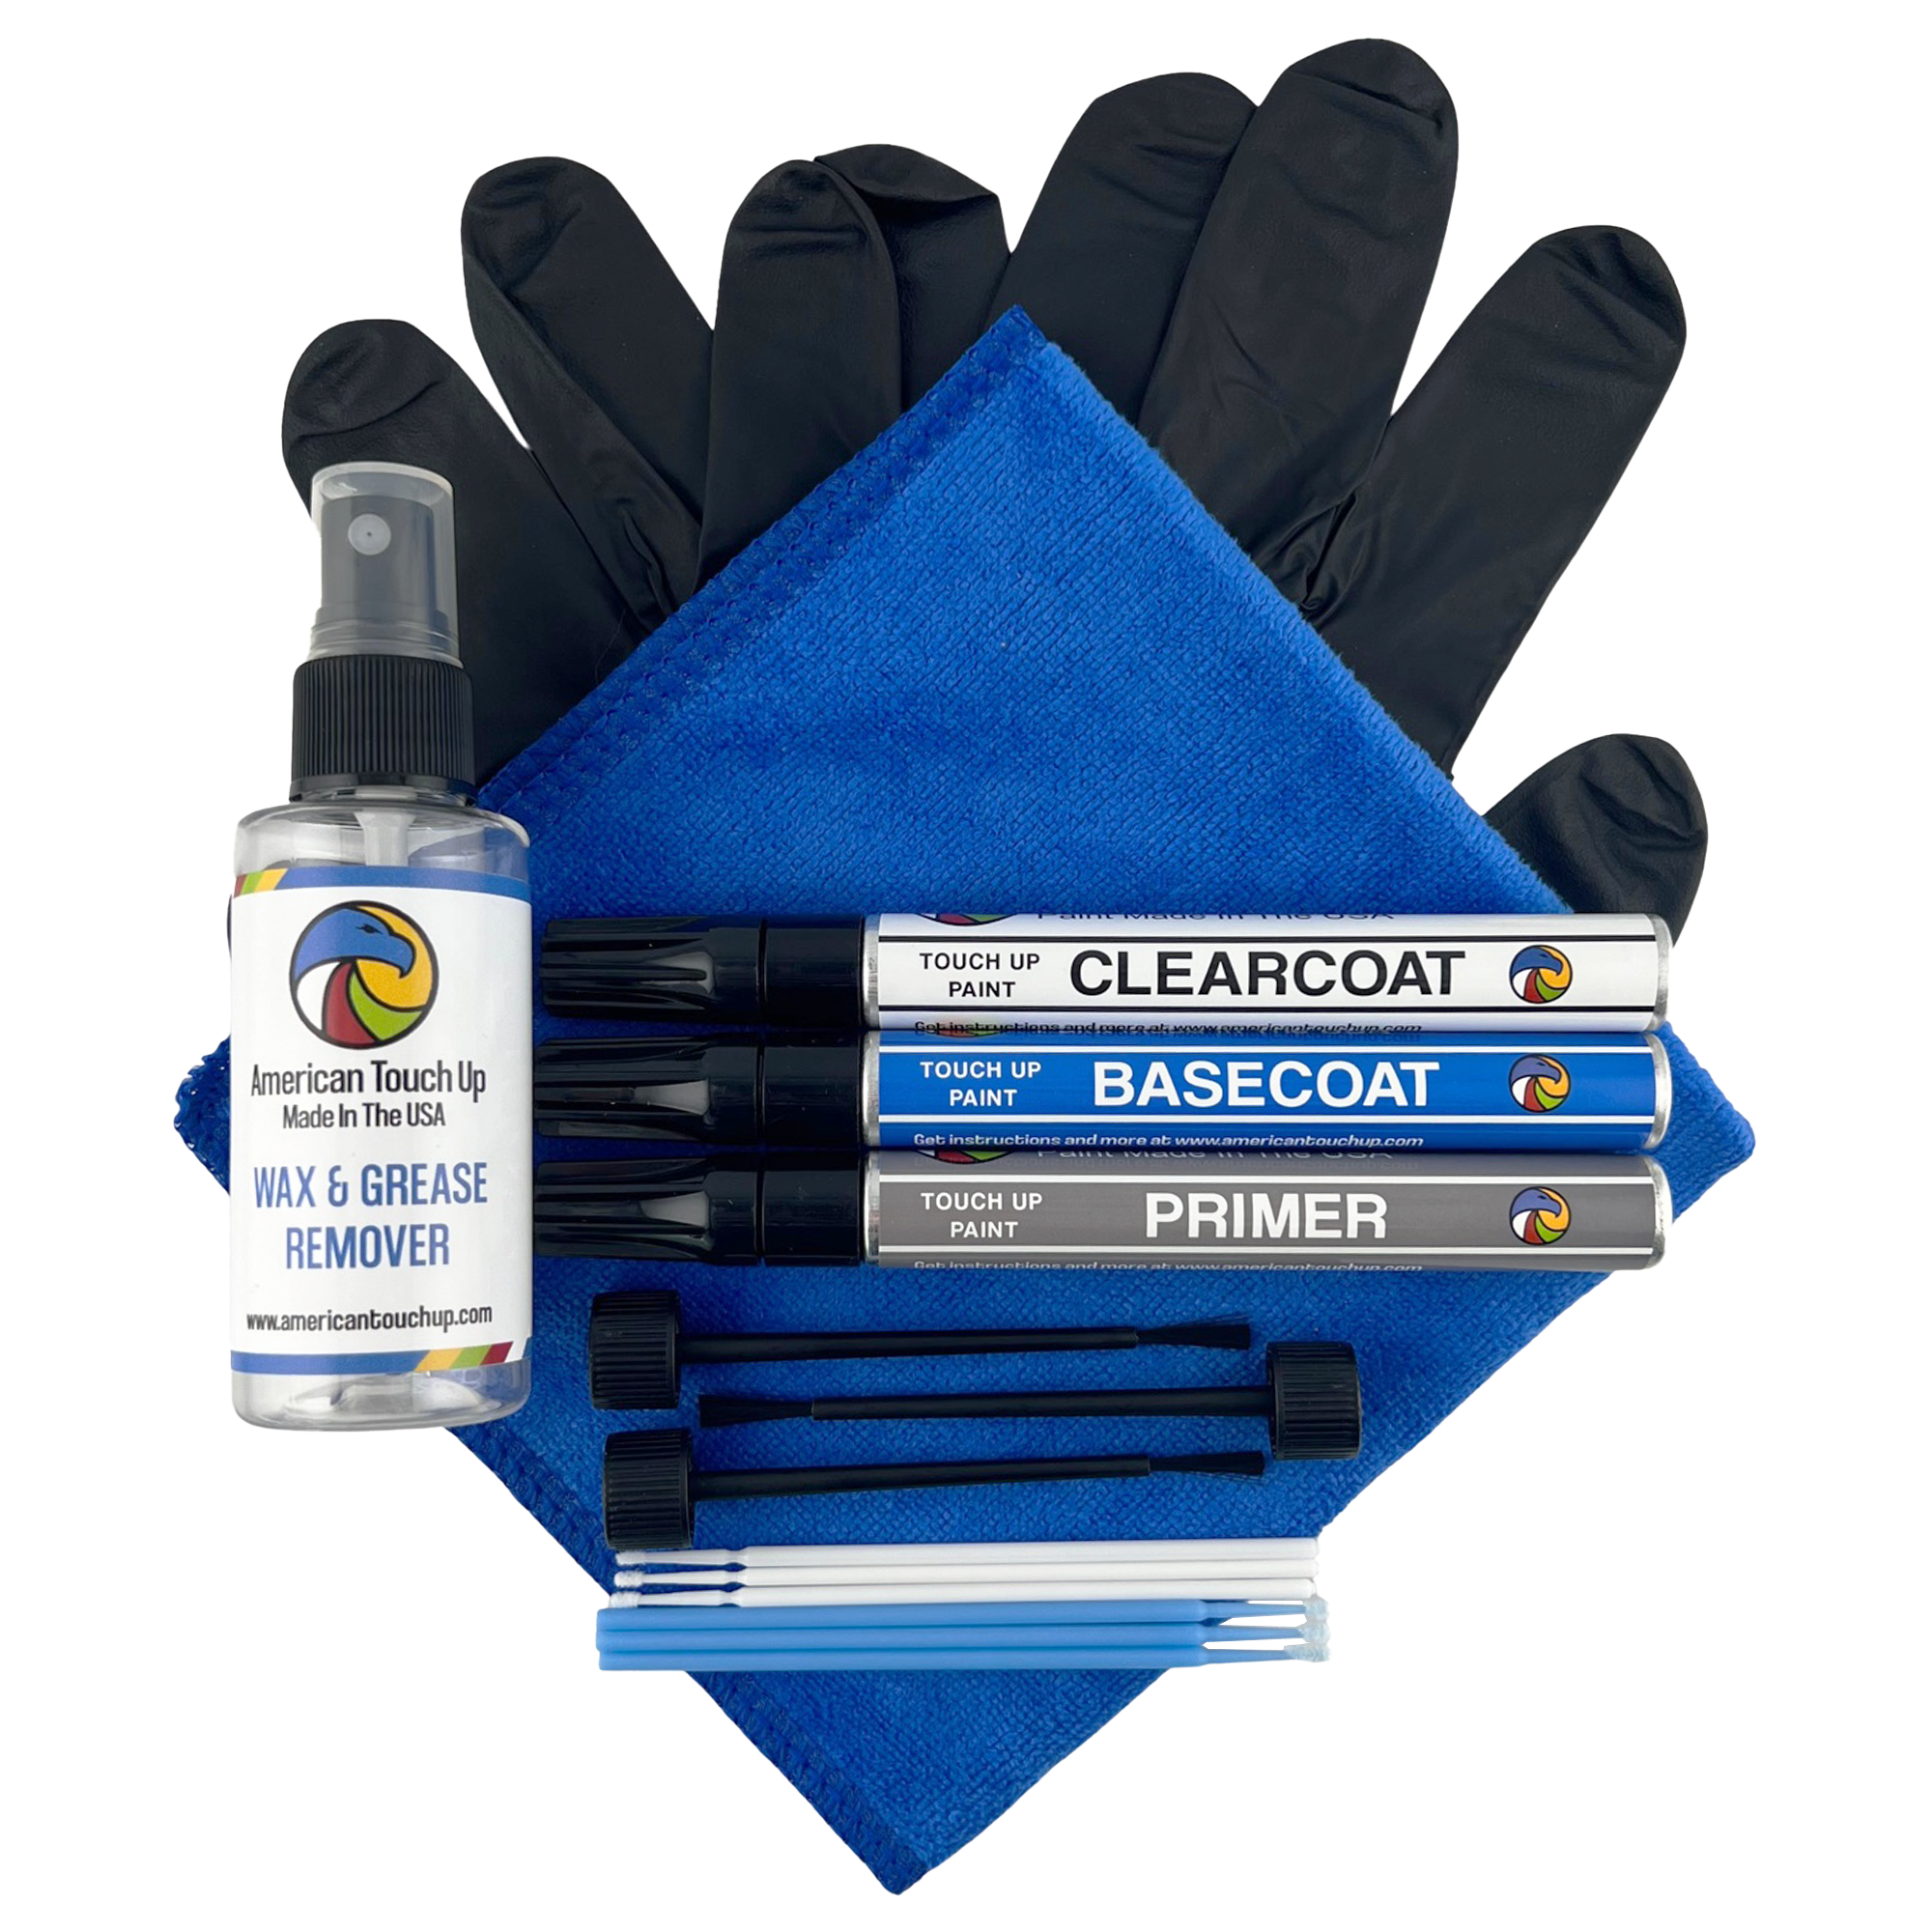
Touch Up Paint Bottle instructions
Quick Steps
NOTICE: TEST THE PAINT ON A CARDBOARD OR SIMILAR SURFACE BEFORE APPLYING DIRECTLY TO YOUR VEHICLE. MAKE SURE THE PAINT CODE YOU PROVIDED MATCHES THE COLOR OF YOUR CAR.
Do not try to use touch up paint with dabbers or brushes with areas larger than a dime. Larger areas must be sprayed.
Quick Steps
1) Clean the area (soap and water or wax and grease remover)
2) Pimer: You’ll want to use primer if the the scratch or damaged area is down to the metal. Primer is more adhesive to metal than basecoat, and basecoat is more adhesive to primer. It also helps prevent rust. If you see rust you can lightly sand the area and then apply primer.
3) Apply very thin coats of basecoat using one of our special dabbers. We give a thin “needle point” dabber for very thin scratches, and a broader dabber for wider scratches. When applying the primer(if purchased), basecoat, or clearcoat(if purchased) use dabs to apply thin layers, do not brush the paint on!
4) Clearcoat: The basecoat should be dry to the touch before applying the clearcoat. Be careful when applying clearcoat. You need to float it over the basecoat. Clearcoat acts like a solvent and any pressure applied will remove the basecoat. Apply clearcoat over the basecoat using our dabbers. The dabbers we provide work especially well for this.
5) Allow clearcoat to dry for three days. Use rubbing compound (apply with an automotive shop towel or special pad, paper products will scratch your finish) to smooth and shine the area. Always test the rubbing compound on your vehicle in an inconspicuous place to check for surface compatibility and shine.
6) IF THIS IS YOUR FIRST TIME, TRY ONE SMALL CHIP FROM START TO FINISH BEFORE REPAIRING OTHER AREAS.
Temperature
Make sure the temperature is at least 55°F degrees.
The paint can dry very quickly in warm weather (above 70 degrees). The whole point behind
practicing is to see how quickly the basecoa,. (midcoat if you are doing a tricoat) and clearcoat will dry. Normally we recommend letting the paint dry overnight at each step, but often you can do all the steps within an hour. Do not practice on your vehicle!
Clean and Protect the Area
Wash the area with soap and water, then use a wax and grease remover or equivalent product
(some painters have suggested tar and insect remover, available at the supermarket) before starting the project. You may wish to use masking tape (automotive quality only!) all around the scratch or chipped area to prevent accidentally marring the surface.
Rust
The first thing to determine is if the scratch has started to rust. We are talking about a surface
scratch and not rust that is bubbling up beneath the paint, as this is too far-gone for touch-up paint! If the area is rusty, you should take a little extra effort to remove all traces of rust using 220 grit sandpaper or a wire brush. Follow this with Mar-Hyde One-Step Rust Converter (sold on our site) and apply this to the bare metal. Just follow the directions on the product.
Applying Primer/Paint or Clearcoat with a Dabber
Dip the dabber into the paint and if there is excess paint, allow for it to drip back into the bottle. Apply several thin coats. For very small areas, use the black dabber, for larger areas use the blue. Do not load up the dabber with paint as it will dry quickly into a blob on the vehicle.
Primer
lf you have an unpainted surface, either bare metal, plastic, rubber, etc., APPLY PRIMER! Primer is made to stick to unpainted surfaces and paint is designed to stick to primer! Primer can also be used to fill small imperfections in the surface. Our primer works on all surfaces. Do NOT use enamel primer!
Clean the area of all dust with a tack rag and apply primer to the unpainted surfaces. Let the primer dry thoroughly before applying the color coat. You can let it dry overnight for best results. If the primer is rough, use the rubbing compound to smooth the surface. If you sand the scratch, the sandpaper will dull the surface so you do not want to do this.
Applying the Basecoat
The Basecoat is the actual color you have ordered. If you did not order auto body putty or primer apply several thin coats of paint to build up the chip to the same depth as the surrounding surface using the dabber. Let it dry for ten to twenty minutes between coats. Let the paint dry thoroughly before applying the clearcoat. Usually if you let the paint dry overnight, it will be dry enough. However, in temperatures less than 70 degrees F, it can take much longer. You may sand the basecoat to remove imperfections by using 1000 grit wet sandpaper and wet sand the area smooth using plenty of water. You can also use rubbing compound as it won’t dull the surrounding finish.
Clearcoat
The basecoat should be dry to the touch before applying the clearcoat. Apply several thin coats of the clearcoat using a cleaned or new/fresh dabber, drying for ten to twenty minutes between each coat. Be careful when applying clearcoat. You need to float it over the basecoat. Clearcoat acts like a solvent and any pressure applied will remove the basecoat. Usually if you let the clearcoat dry overnight, it will be dry. However, in temperatures less than 70 degrees F, it can take much longer. You may sand the clearcoat to remove imperfections by using 1000 grit wet and dry sandpaper and wet sand the area smooth using plenty of water. You can also use rubbing compound as it won’t dull the surrounding finish. Let the area dry for at least three days and use a good quality automotive rubbing compound to polish the area. Make sure you use a clean soft cotton fabric such as a T-Shirt or high quality shop towel. NOTE: Paper products will scratch your paint! Avoid paper towels!!! Wait 30 days before applying automotive wax. Don’t use a bath towel, wash cloth, etc.
Using the Rubbing Compound
Rubbing compound is applied to the entire area to make the area smooth and shiny. Let the clearcoat dry for at least three days before using the rubbing compound. Use a clean, very soft cloth like an old tee shirt (for example DO NOT USE PAPER PRODUCTS as the wood fibers will scratch the finish!). Place a small quantity of rubbing compound on the vehicle and use circular strokes and apply even pressure to the surface. It’s almost ike waxing a vehicle except the rubbing compound is like an extremely fine liquid sandpaper. Buff with a clean cloth to a high gloss. (You may want to apply some paint and clearcoat on a smooth surface and practice to get the feel of it.) Sometimes lots of pressure is required to make the clearcoat shine. The rubbing compound can also be applied by machine, but careful, it’s very easy to burn the finish! You can get the same results by hand, it will just take a bit longer.
The rubbing compound is also good for removing oxidation from your finish. Let the finish dry for a 30 days and apply a good quality automotive wax.
Waxing: Allow the finish to dry for 30 days before waxing.